
admin
Custom Patches: How to Apply and Make Them Last
So, you’ve finally received your custom patches — the ones you spent days designing, perfecting, and waiting eagerly to arrive. They look amazing, they feel premium, and now you’re ready to bring your vision to life by applying them. But before you grab that iron or needle, let’s talk about how to apply and maintain your custom patches the right way — so they stay looking fresh and flawless for years to come.
At Patches Universe, we believe great patches deserve great care. Whether you’re decking out your denim jacket, uniforms, or backpacks, here’s how to do it right from start to finish.
First Things First: Know Your Patch Type
Before application, you need to know what type of custom patch you’re working with:
Iron-On Patches – These have a heat-activated adhesive backing. Ideal for quick and easy application.
Sew-On Patches – Traditional and super durable. Best for long-term wear or heavy-duty fabrics.
Velcro-Backed Patches – Removable and reusable. Great for tactical gear and uniforms.
Adhesive/Peel-and-Stick Patches – Temporary, fun, and perfect for one-time use or light fabrics.
Knowing the backing helps you choose the right method — and avoid a mess.
How to Apply Your Custom Patches (Step-by-Step)
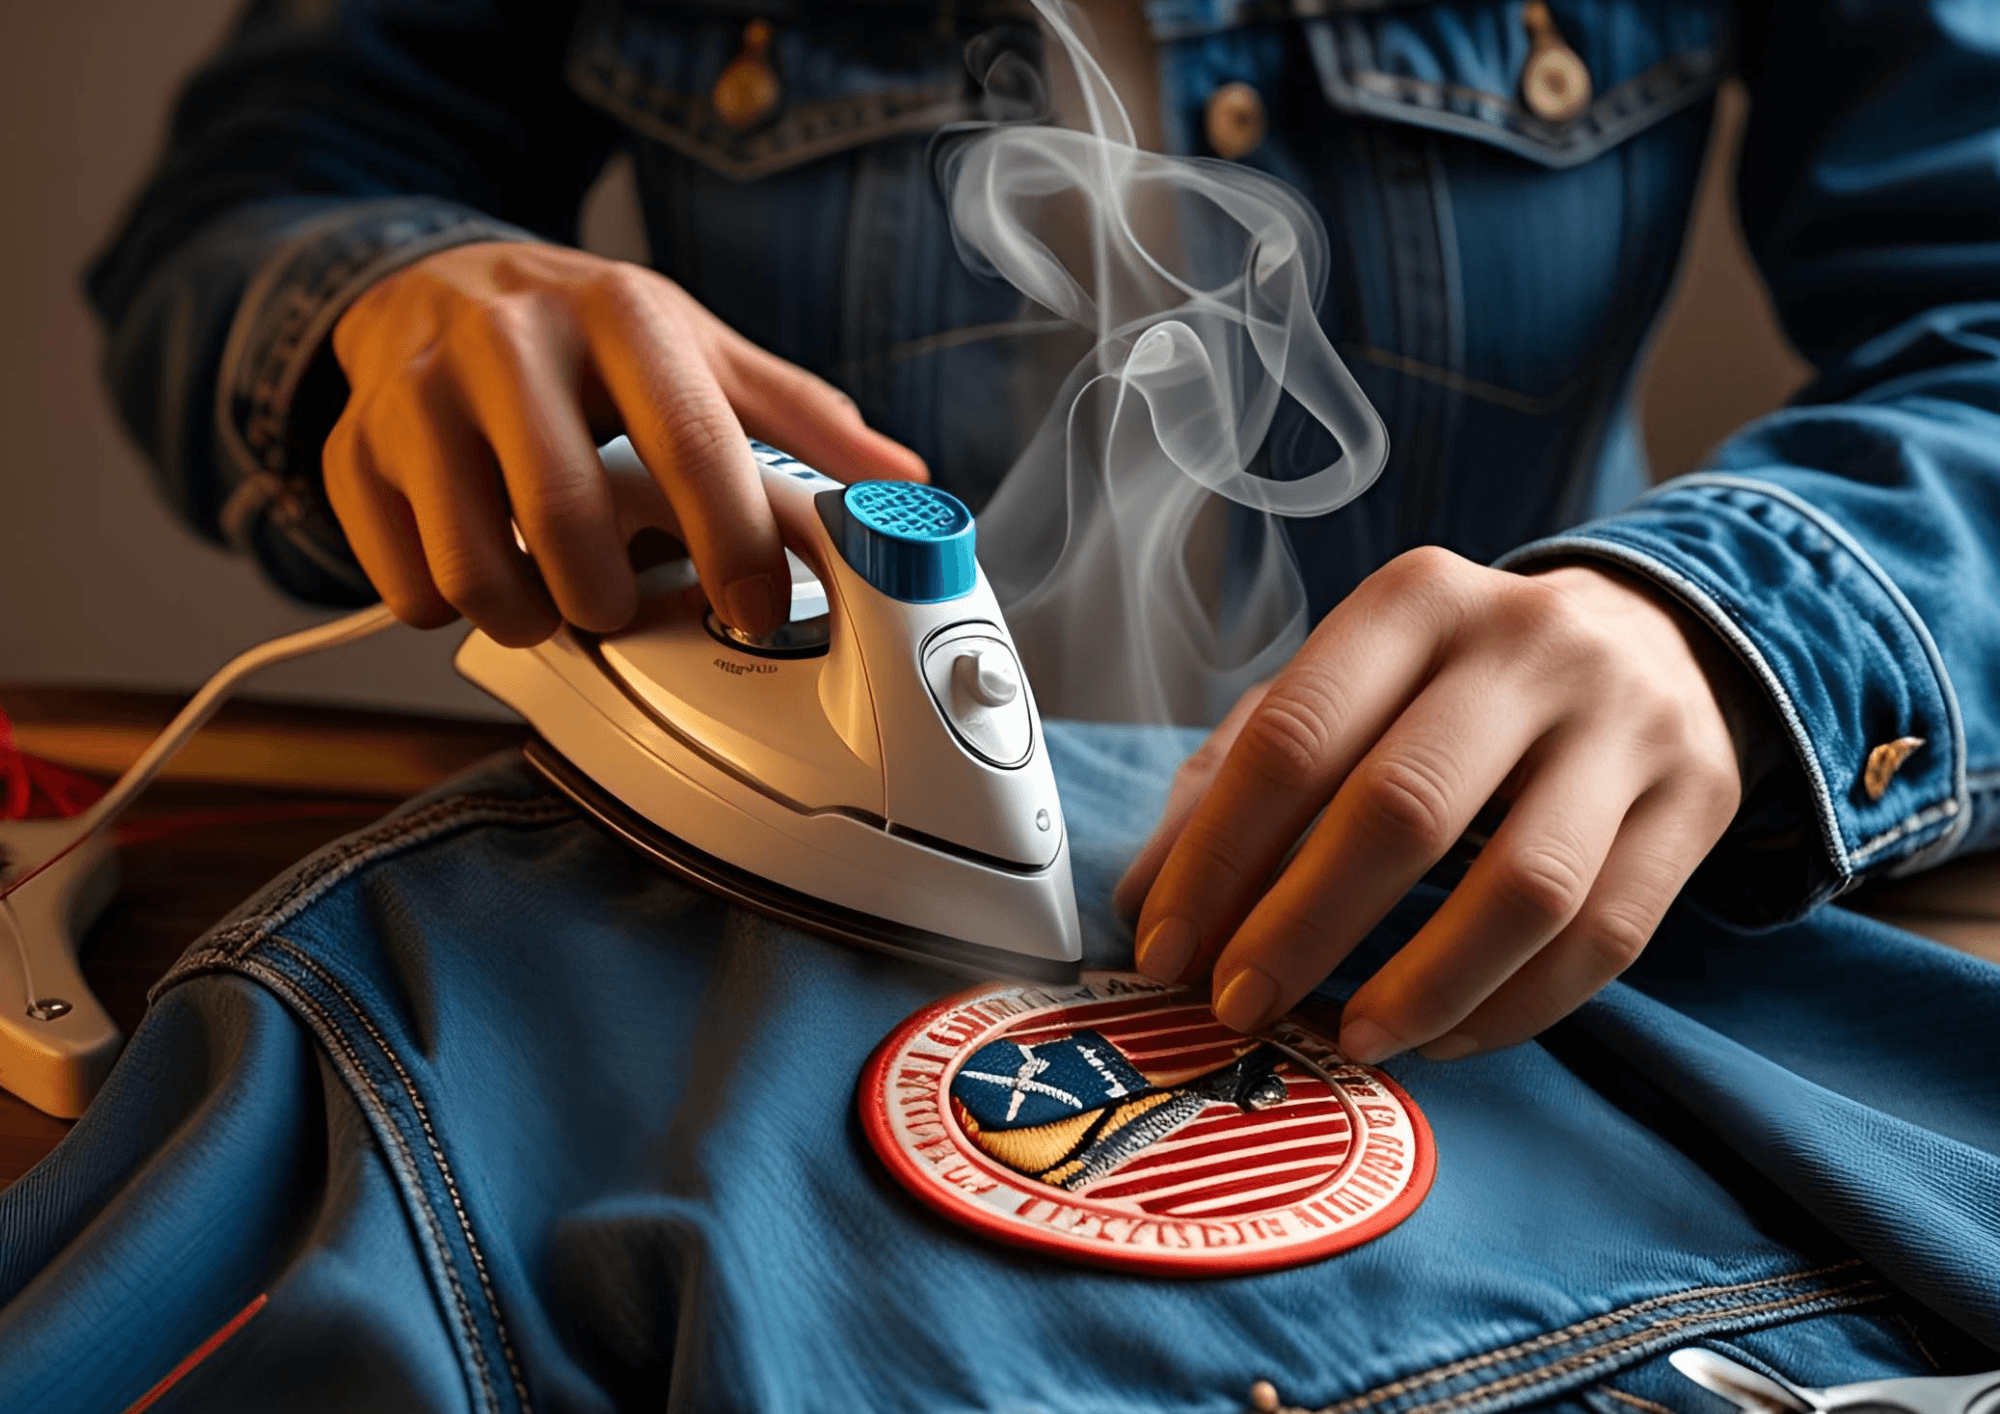
👕 For Iron-On Patches:
Choose the Right Fabric
Works best on cotton, denim, or canvas. Avoid stretchy or heat-sensitive fabrics.Preheat the Area
Lay your garment flat and iron the spot for 10 seconds to warm it up.Position the Patch
Place the patch exactly where you want it — face up!Cover with Cloth or Parchment Paper
Protect the patch and fabric from direct heat.Iron It Down (Firmly!)
Press the iron firmly for 30-45 seconds using high heat and NO steam.Let It Cool
Once the patch is cool, check the edges. If they lift, repeat with more pressure.Pro Tip: Flip the fabric inside out and iron the back side too for better bonding.
For Sew-On Patches:
Pin or Tape the Patch in Place
Use Matching Thread or Go Bold with Contrast
Sew by Hand or Machine Around the Edge
A straight stitch or zigzag works well.This method offers the most durability, especially for items that will be washed often.
For Velcro Patches:
Simply press the hook-and-loop patch into place.
Make sure both sides (patch + garment) are aligned and clean.
✅ Ideal for uniforms, military gear, or anything that needs frequent swapping.
Maintaining Your Custom Patches Like a Pro
Once your patches are applied, a little care goes a long way.
🧽 Cleaning Tips:
Turn Garments Inside Out before washing
Use cold water and a gentle cycle
Avoid bleach or strong detergents
Never wring or twist garments with patches
🧺 Drying Advice:
Air-dry your patched items when possible
If using a dryer, use low heat only
Avoid ironing directly on the patch surface
What to Avoid
Don’t apply iron-on patches to delicate fabrics (like silk or nylon)
Don’t wash newly applied patches for at least 48 hours
Don’t forget to test heat settings before full application
Why This Matters
Your custom patches are more than just decoration — they represent your story, brand, identity, or memory. When applied and maintained correctly, they’ll stay vibrant, secure, and bold no matter how often you wear them.
👋 Final Thoughts
Whether you’re patching up your brand’s uniforms, customizing a club jacket, or adding flair to your bag collection, proper patch care ensures your look stays strong. At Patches Universe, we’re here not just to design your custom patches — but to help you get the most out of them too.
Got questions about which patch backing is right for your product? Or need help choosing between sew-on and iron-on? We’ve got your back — just contact us or check out our full Patch Application Guide.
Need custom patches for your team, brand, or next event?
🎯 Get a free quote today at Patches Universe!